
Last updated November 2, 2026
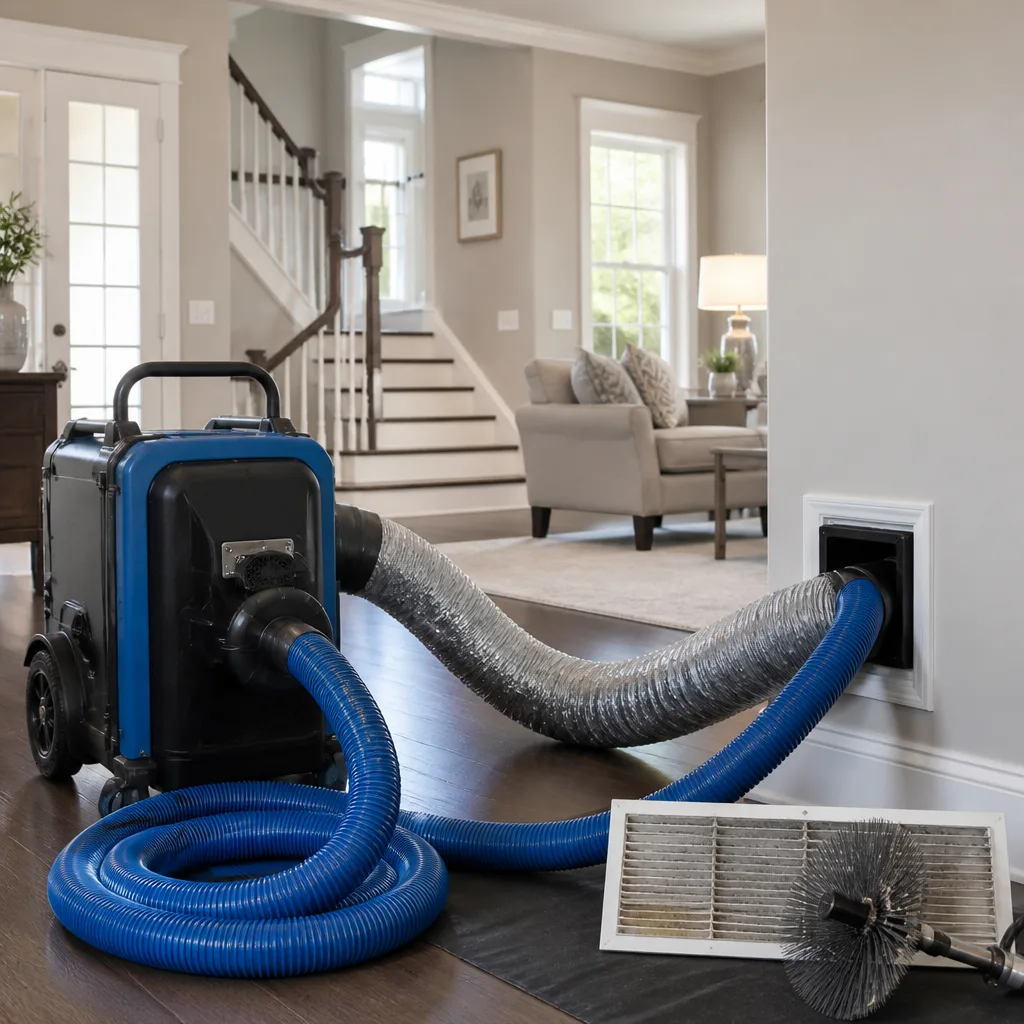 Whole-home duct cleaning
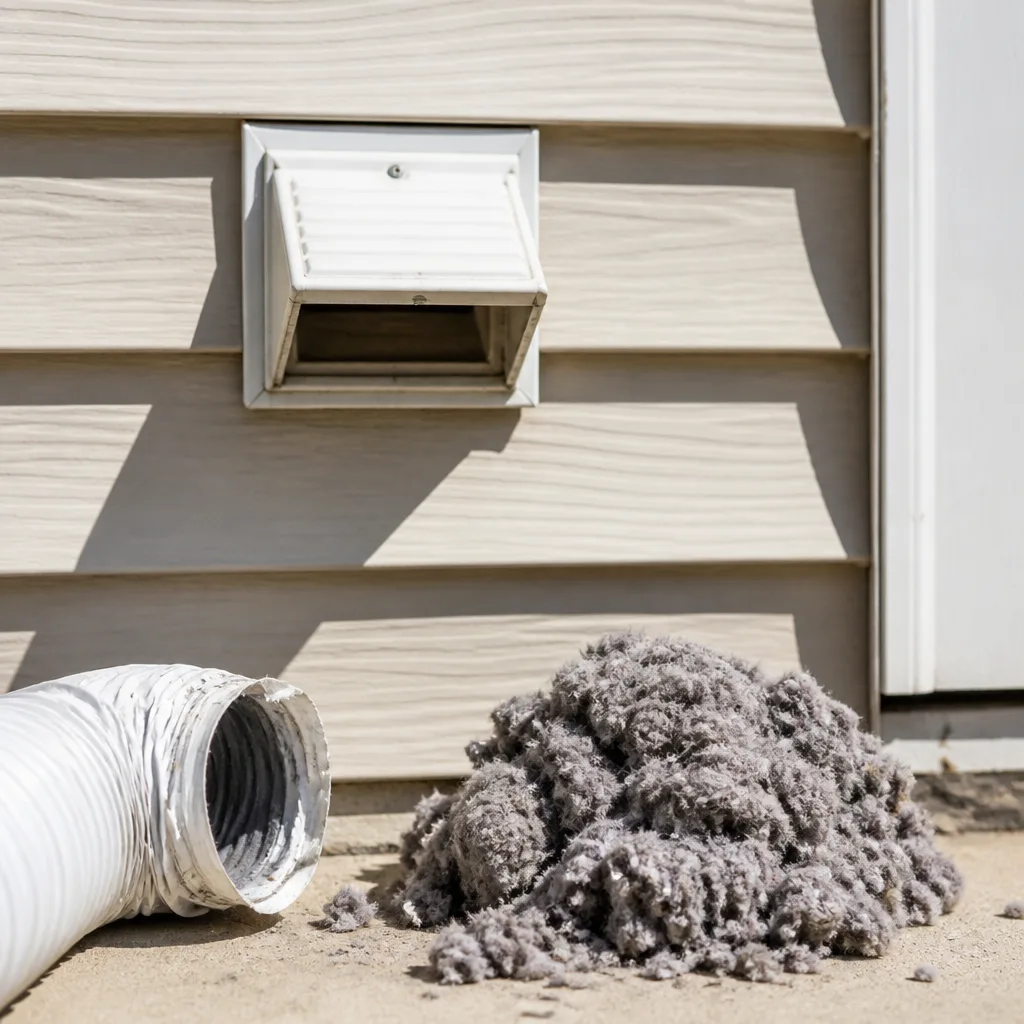 Dryer vent cleaning
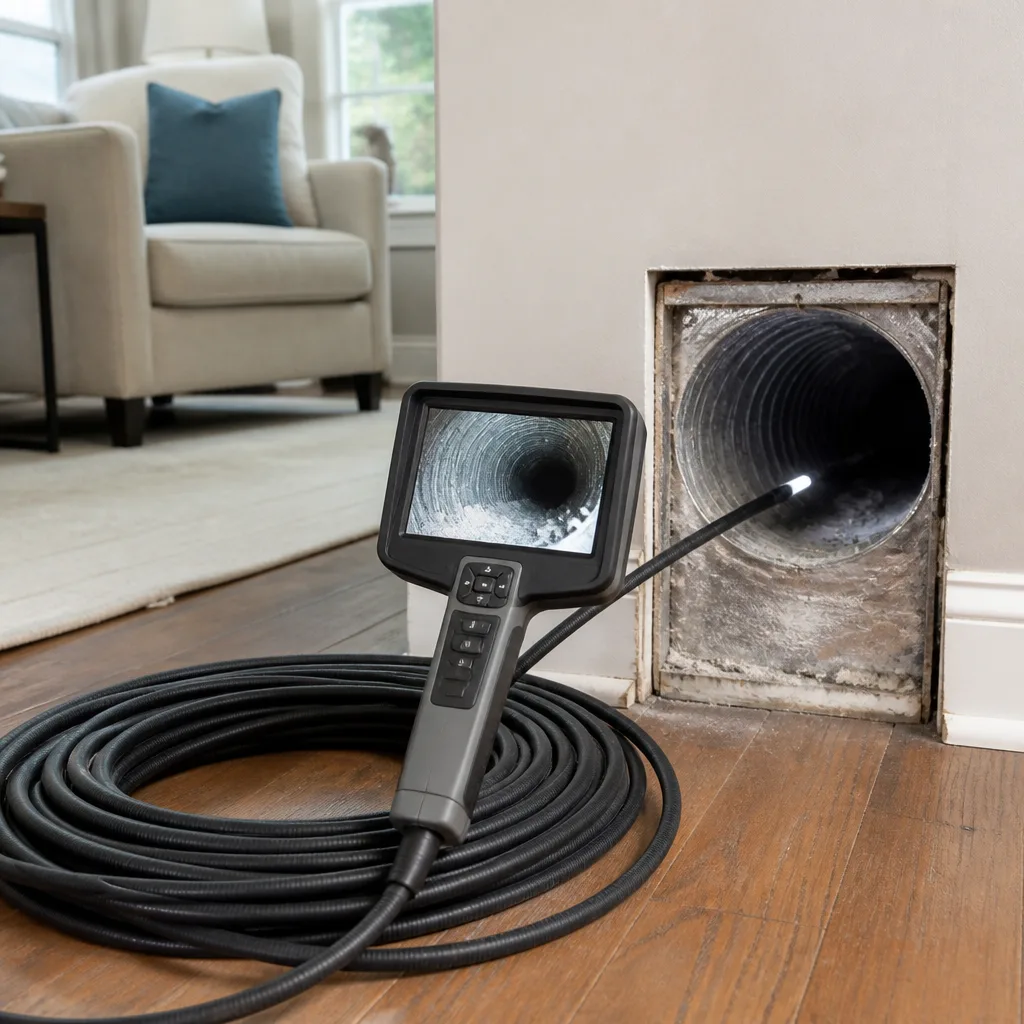 Camera inspection
 Sanitizing & deodorizing
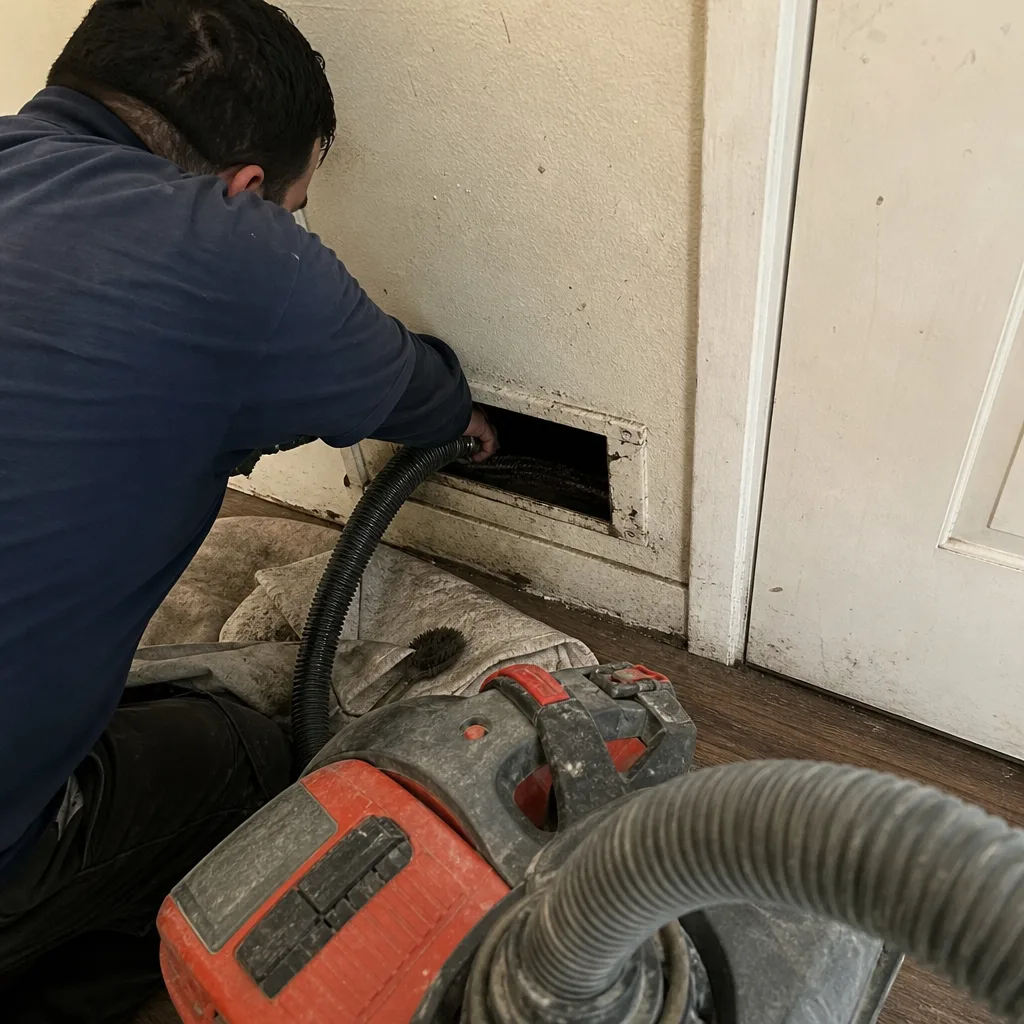
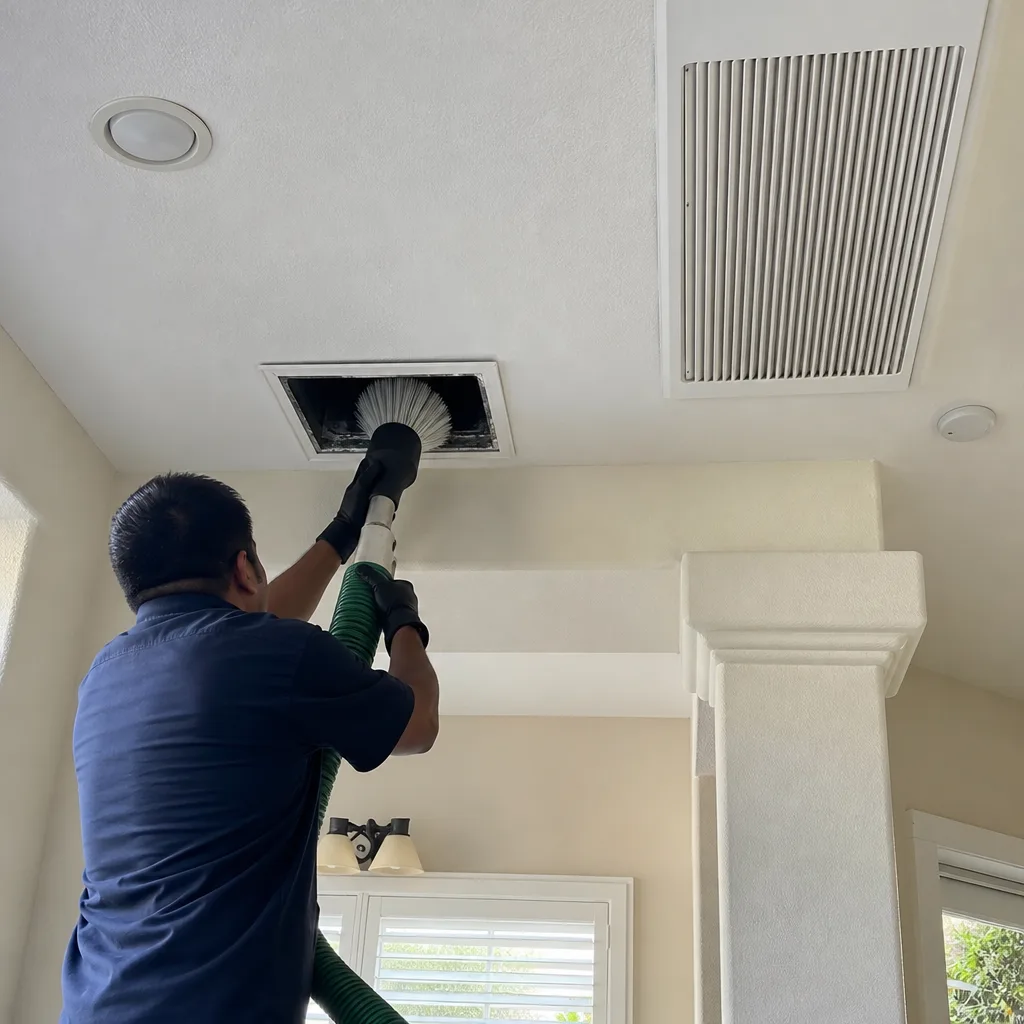
Whole-system duct and dryer vent check with before-and-after photos - you see exactly what came out of your vents
That "$99 whole-house special" is a bait ad - the real number appears once they are in your hallway, or the "clean" is a shop-vac at the register. We photograph the inside of your ducts before and after instead.
Air Duct Cleaning Maintenance Checklist for Murrieta Homeowners
Most duct maintenance checklists floating around the internet were written for houses in Ohio or Michigan, places with four real seasons and a furnace that runs half the year. They tell you to change your filter every 90 days and call it done. That advice doesn’t hold up in Murrieta, where your air conditioner can log 10 months of runtime annually and a single Santa Ana wind event can push the outdoor air quality index up by 80 points in an afternoon. This guide is different. We wrote it specifically for Murrieta homeowners, built around the actual climate calendar here, the particulate loads from the 15 Freeway corridor, and the maintenance rhythms your duct system actually needs in this valley.
Styles & brands we work with
- Whole-home duct cleaning
- Dryer vent cleaning
- Camera inspection
- Sanitizing & deodorizing
Quick Answer
A Murrieta air duct maintenance checklist should follow a two-season schedule: heavy inspection during May and October before the AC and heating load shifts, with monthly filter checks and register wipe-downs year-round. The most important tasks are upgrading to MERV 11-13 filters if you live near the 15 Freeway, visually inspecting flex duct connections at registers and plenums every spring, and logging a professional camera inspection every 3 to 5 years to establish a documented baseline for your system’s condition. Duct cleaning itself is typically needed every 2 to 4 years in Murrieta, more often if you have pets, recent renovation dust, or live within a half mile of the freeway corridor.
Table of Contents
- Why Murrieta’s Climate Demands a Different Duct Maintenance Schedule
- The Month-by-Month Murrieta Duct Maintenance Checklist
- Choosing the Right MERV Filter Rating for Murrieta Homes
- How to Inspect Flex Duct Connections at Registers and Plenums
- Visual and Tactile Duct Inspection: What to Check Without Opening Walls
- When to Schedule a Professional Camera Inspection
- How to Document Your Duct System Baseline for Future Comparison
- Common Mistakes to Avoid
- When to Call a Professional
- Frequently Asked Questions
- The Bottom Line
Why Murrieta’s Climate Demands a Different Duct Maintenance Schedule
Murrieta sits in a semi-arid Mediterranean climate zone, which sounds pleasant until you think about what it means for the air moving through your home. We get roughly 260 sunny days a year, summer temperatures that routinely cross 100 degrees in July and August, and humidity that stays low enough to keep dust suspended in the air longer than it would in a coastal city. Your HVAC system responds by running almost constantly from May through October, pulling that dry, particulate-heavy air across your evaporator coil, through your blower wheel, and into every room. The coil sweats during cooling cycles, and that moisture acts like a dust magnet. Over a single hot Murrieta summer, a coil can accumulate a visible layer of debris that reduces heat transfer efficiency and forces your compressor to work harder.
Then comes October. The Santa Ana winds arrive, and the pressure gradients shift. Dry air from the high desert funnels through the passes and into the Temecula Valley, picking up fine dust, pollen, and whatever else is loose on the ground. During a strong Santa Ana event, outdoor particulate counts can spike dramatically, and much of that finds its way into your return air pathways. Homes near the 15 Freeway get an added load: diesel particulate from constant truck traffic, brake dust, and tire wear particles that are fine enough to pass through low-grade filters. This is not a hypothetical concern. Studies of homes near major freeways consistently show elevated indoor particulate levels, and your duct system is the pathway that delivers that air to your living spaces.
Generic maintenance schedules assume a predictable seasonal rhythm: heavy heating load in winter, cooling load in summer, and shoulder seasons in between. Murrieta doesn’t follow that pattern. Our heating season is short and intermittent, but our cooling season is long and intense, punctuated by wind events that inject outdoor debris directly into the system. That’s why the checklist below is organized by month, not by quarter, and why filter replacement intervals differ from the standard advice you’ll find elsewhere.
For a deeper look at how this climate affects your actual ductwork, see our guide to Air Duct Cleaning in Murrieta.
The Month-by-Month Murrieta Duct Maintenance Checklist
This schedule is built for a typical single-family home in Murrieta with central forced-air HVAC. Adjust for occupancy: homes with shedding pets, four or more residents, or a smoker should move filter changes up by 30 days. Homes within half a mile of the 15 Freeway south of Murrieta Hot Springs Road should treat the “near freeway” notes as mandatory, not optional.
- January: Check your filter. If you haven’t changed it since before Thanksgiving, it’s due regardless of what the packaging claims. Winter in Murrieta means occasional heating cycles that stir up dust that settled in the registers during fall. Wipe down visible register faces with a damp microfiber cloth. This is also a good month to walk your home and listen for any new rattling or whistling from registers that weren’t making noise before.
- February: Inspect outdoor condenser unit clearance. While this isn’t ductwork per se, a condenser choked with leaf litter and debris forces your system to work harder, which changes airflow dynamics through the entire duct system. Clear any debris within two feet of the unit. Check that no shrubs or stored items have encroached on the airflow space.
- March: Conduct a full register audit. Walk every room and check that each supply and return register is open, unobstructed by furniture or rugs, and firmly seated. Closed registers increase static pressure in the duct system, which accelerates leaks at joints and seams. If you have a return register in a hallway, make sure it’s not blocked by a runner or console table.
- April: Replace your filter with a MERV 11 or MERV 13 unit if you’re in the freeway corridor or have allergy-sensitive occupants (more on this below). Inspect flex duct connections at accessible registers and at the plenum if your attic access allows safe inspection. Look for sagging, crushed sections, or visible gaps at connection points. Air Duct Repair in Murrieta is often needed in homes where flex duct runs have been disturbed by storage or previous work in the attic.
- May: This is your pre-cooling-season checkpoint. If you only do two thorough inspections a year, make this one of them. Check the filter, inspect all accessible ductwork, and run your system for 15 minutes with the fan on while you walk the house listening for air hissing from places it shouldn’t be. Temperature differentials between rooms at this stage can indicate duct leakage before the real heat arrives.
- June: Monthly filter check. During peak cooling months in Murrieta, your blower is moving more air and more particulate. A filter that lasted three months in winter may be loaded after six weeks of continuous AC operation. Hold the filter up to a light source; if you can’t see light through it, replace it regardless of calendar time.
- July: Check condensate drain line. While technically an HVAC component rather than ductwork, a clogged drain line leads to standing water in the drain pan, which creates a moisture environment that can spread into nearby ductwork and encourage biological growth. Pour a cup of white vinegar down the line and verify it flows freely. If you see water pooling around the indoor unit, call a professional immediately.
- August: Peak load month. Your system is running at maximum duty cycle. This is when weak flex duct connections separate, when crushed sections reveal themselves as hot spots in rooms, and when dirty coils cause the system to short-cycle. Do a quick visual pass on all accessible ductwork. If any room in the house is consistently 5 degrees warmer than the others, you likely have a duct issue, not an AC sizing issue.
- September: Post-summer filter replacement. Even if you changed it in June or July, late summer is when Murrieta’s dry heat has baked maximum debris onto the filter media. Replace it now before Santa Ana season begins. Consider this your pre-wind-event baseline filter.
- October: Santa Ana season begins. If a wind event is forecast, run your system fan continuously for 24 hours rather than cycling automatically. This keeps positive pressure in the ductwork and reduces the amount of wind-driven particulate that enters through small gaps and reversed return pathways. After the event passes, check your filter – during strong Santa Ana events, it can load visibly in a matter of days.
- November: Post-wind-event inspection. Check all registers for visible dust accumulation on the register face and surrounding wall. This dust is a visible proxy for what’s inside the ductwork. If registers near the freeway-facing side of your home are caked with fine brown dust while interior rooms are clean, that tells you outdoor infiltration is finding a path into your system.
- December: Annual review. Pull out your maintenance log (see the documentation section below) and review the year’s filter changes, inspections, and any anomalies you noted. If you haven’t had a professional camera inspection in 3+ years, schedule one for the new year. This is also the right time to make a decision about whether your duct system needs professional cleaning before the next cooling season rolls around.
This monthly rhythm is the core of effective Duct Cleaning Murrieta home maintenance. It prevents the slow accumulation of problems that become expensive repairs later.
Choosing the Right MERV Filter Rating for Murrieta Homes
Filter selection is the single most impactful maintenance decision you make, and it’s more nuanced than “higher is better.” MERV stands for Minimum Efficiency Reporting Value, and it measures how effectively a filter captures particles of specific sizes. A MERV 8 filter catches larger dust and lint. A MERV 13 filter catches fine particulate, including most diesel exhaust particles, wildfire smoke, and allergen-carrying dust.
| MERV Rating | Captures | Best For in Murrieta | Change Interval |
|---|---|---|---|
| MERV 8 | Dust, lint, pollen, dust mites | Single occupant, no pets, far from freeway | 90 days |
| MERV 11 | Above plus finer dust, some diesel particulate, pet dander | Pet owners, allergy-sensitive occupants, within 2 miles of 15 Freeway | 60-90 days |
| MERV 13 | Above plus most diesel exhaust particles, fine smoke, bacteria-carrying droplets | Within 1 mile of 15 Freeway, asthma households, recent wildfire smoke exposure | 45-60 days |
| MERV 16+ | Hospital-grade filtration | Rarely needed residentially; requires system static pressure verification | Per manufacturer |
There’s a real trade-off here. Higher MERV filters are more restrictive. They create more static pressure in your duct system, which means your blower motor works harder and moves slightly less air. In a properly sealed, correctly sized duct system, a MERV 13 filter is usually fine. In an older Murrieta home with undersized or leaky ducts, jumping from MERV 8 to MERV 13 without checking static pressure can reduce airflow enough to cause coil freezing or premature blower motor wear. If you’re unsure, have a technician check your system’s static pressure before committing to high-MERV filters. We’ve seen systems where a MERV 13 filter reduced airflow by 15% because the duct runs were already marginal for the home’s square footage.
For most Murrieta homes, MERV 11 is the practical sweet spot. It captures meaningful particulate load without imposing excessive restriction, and it’s available in standard sizes at reasonable cost. Homes in the freeway corridor, particularly in the neighborhoods east of the 15 between Murrieta Hot Springs Road and California Oaks Road, should consider MERV 13 if the system can handle it. The diesel particulate load in that zone is real, and your filter is the first line of defense for both your health and your duct system’s cleanliness. Homes using Honeywell or Aprilaire whole-home filtration systems should verify compatibility with their specific filter housing before changing MERV ratings.
How to Inspect Flex Duct Connections at Registers and Plenums
Flex duct is the flexible, insulated tubing used to connect rigid trunk lines to individual room registers in most Murrieta homes built since the 1980s. It’s a practical material, but it has a known weakness: the connections at either end, where the flex duct meets the register boot or the plenum, can slip loose over time due to vibration, thermal expansion, or attic-stored items resting on the duct runs. When a connection separates even partially, conditioned air leaks into the attic or wall cavity instead of reaching your rooms. You pay to cool air that never arrives.
Here’s how to check flex duct connections yourself, safely:
- Prepare: You’ll need a flashlight, a pair of work gloves, and access to your attic or crawlspace. If you’re not comfortable in an attic or have any mobility concerns, skip this and have a professional do it during a routine service call. Attics in Murrieta can exceed 130 degrees in summer – never do this during the heat of the day between June and September. Early morning or late evening only.
- Locate the connections: Flex duct runs typically connect to a metal or plastic register boot at the room end and to a sheet metal plenum or trunk line at the system end. In an attic, look for the shiny insulated tubes running from the central unit outward to each room’s ceiling register.
- Visual check: At each connection point, look for the metal ring or zip tie that secures the flex duct to the boot or plenum. The connection should be snug, with no visible gap between the duct’s inner liner and the metal collar it attaches to. A small gap you can slip a finger into means air is escaping.
- Tactile check: Gently squeeze the flex duct about six inches from the connection. It should feel firm and round. If it feels collapsed, flattened, or if the insulation layer feels detached from the inner liner, note that as a potential issue.
- Tension check: Flex duct should hang with gentle curves, never tight angles or hard kinks. Look for sections where the duct makes a sharp 90-degree bend – those create airflow restriction and stress the connection points. Proper support straps should be about every 4 to 5 feet along the run.
- Same-room verification: After your inspection, go back into the house and turn on the fan. Feel the airflow at each register you inspected. Weak airflow at a register you just verified was properly connected suggests an issue deeper in the run, such as a crushed section or a disconnected junction you can’t see from your access point.
Loose flex duct connections are among the most common issues we find when called in for Air Duct Repair in Murrieta. In many cases, the fix is straightforward: re-secure the connection with a proper metal clamp or heavy-duty zip tie and seal with mastic or UL-listed tape. But finding the problem early prevents months of wasted energy and rooms that never quite cool properly during Murrieta’s long summers.
Visual and Tactile Duct Inspection: What to Check Without Opening Walls
You can’t see most of your duct system, but you can see its effects. The surfaces around your registers, the condition of your filter, the presence of dust on furniture in specific rooms, and the sounds your system makes all provide diagnostic information about what’s happening inside the ducts. A thorough monthly check takes about 10 minutes once you know what to look for.
Start with the registers themselves. Remove a supply register cover in a high-traffic room and look inside with a flashlight. What you’re looking for is deposition: dust caked on the register boot, debris settled in the first few inches of duct, or visible fibers from the duct liner. A light coating of fine dust is normal. A thick accumulation, or visible debris clumps, indicates that either the filter is inadequate for your particulate load or the duct system has openings allowing unfiltered air to enter. Pay attention to the pattern: registers on the freeway-facing side of your home accumulating debris faster than others tells you outdoor particulate is entering the system through leaks or insufficient filtration.
Wall and ceiling staining around registers is another tell-tale sign. If you see gray or brown smudging on the wall above a supply register, that’s called ghosting, and it indicates that air is exiting the register with enough velocity to deposit particulate on the wall surface. Ghosting is often worse when ducts are dirty, because the air itself is carrying more debris. It’s also a sign that the register’s diffuser direction may need adjustment.
Listen to your system. When the fan is running, walk the house and listen at each register. A smooth, consistent airflow sound is what you want. A whistling or hissing sound suggests an obstruction or a partially closed damper somewhere in the system. A rattling sound at a specific register often indicates a loose duct connection nearby. A thumping sound that comes and goes as the system cycles can indicate a flex duct that moves slightly when airflow pushes against it – usually a sagging or inadequately supported section.
Touch the walls near your return registers during cooling season. They should feel about the same as the rest of the wall. If the wall around a return register feels noticeably cold or shows condensation, that’s a sign the return air pathway is pulling conditioned air from where it shouldn’t, or the return is undersized for the system. Both issues affect duct system performance and indoor air quality.
We inspect duct systems in Murrieta homes using professional-grade cameras and equipment from brands like Rotobrush and Nikro, the same systems used in commercial and restoration work. What we find with that equipment confirms what careful homeowners can detect with their own eyes and ears: the best early-warning system for duct problems is a homeowner who knows what normal looks like and notices when it changes.
When to Schedule a Professional Camera Inspection
Your eyes and ears are good early-warning tools, but they have limits. You can’t see past the first bend in a duct run, you can’t assess the interior condition of the trunk line, and you can’t determine whether the debris visible at a register is a localized deposit or the visible edge of a system-wide problem. That’s where a professional camera inspection comes in.
A camera inspection involves running a high-resolution, flexible camera through your duct system, documenting the interior condition in video footage. It reveals things you can’t detect from outside: buildup on the coil, debris clinging to the blower wheel, pinhole leaks in rigid duct sections, biological growth in dark, humid sections, and the general internal condition of flex duct insulation. The footage gives you a visual baseline – proof of what the inside of your system looks like at a specific point in time.
Here’s when a camera inspection is genuinely warranted, versus when a filter change and register check is sufficient:
- New home purchase: You’ve just bought a house in Murrieta and have no idea what the previous owners’ maintenance habits were. A camera inspection tells you what you’re starting with before you move furniture in and the system becomes inaccessible.
- Post-renovation: Any significant construction or remodel work – drywall dust, flooring demolition, texture spraying – puts fine particulate through the HVAC system if the ducts weren’t sealed during the work. A camera inspection confirms what got in and how much.
- Persistent allergy symptoms: If occupants experience symptoms that improve away from home and worsen in certain rooms, the duct system is a prime suspect. A camera inspection can identify debris accumulations that align with the symptomatic rooms.
- Visible debris at multiple registers: If more than two registers show significant dust or debris accumulation during your visual checks, the problem is likely system-wide and a camera inspection will map the extent.
- Pre-listing or pre-purchase documentation: Sellers and buyers both benefit from documentation of duct system condition. It provides an objective reference point that protects both parties.
- Routine baseline every 3 to 5 years: Even with perfect maintenance, systems accumulate debris over time. A camera inspection at 3 to 5 year intervals documents the rate of accumulation and helps you plan cleaning intervals with data rather than guesswork.
When you don’t need a camera inspection: if your visual checks show clean registers, your filter changes are consistent, your energy bills are stable, and no one in the home has unexplained respiratory symptoms, your system is likely in good shape. Save your money for the next scheduled inspection rather than reacting to marketing-driven cleaning prompts.
Professional camera documentation is part of proper Air Duct Cleaning in Murrieta service. Before-and-after footage gives you verification that the work was performed and that the interior condition matches what you were told.
How to Document Your Duct System Baseline for Future Comparison
One of the most valuable things you can do for your duct system’s long-term health is something almost no homeowner does: establish a documented baseline. A baseline is a record of your system’s condition at a known point in time, which allows you to make objective comparisons as time passes. Without a baseline, you’re relying on memory and subjective impressions. With one, you can watch problems develop before they become expensive.
Here’s how to create your duct system baseline:
- Record the date and system details: Note the date of your baseline, the manufacturer and model of your HVAC equipment if known, the filter type and MERV rating currently installed, and the date the filter was last changed.
- Take dated photos: Photograph each register in the home, with the cover on and removed, using your phone. Get close enough to show the interior of the register boot. Store these photos in a dedicated album on your phone or in cloud storage. These images become your “before” reference for future comparisons.
- Document your filter condition: When you remove a used filter, photograph it next to a new filter of the same type. The visual difference is your timeline for particulate accumulation. A filter that looks dark gray after 30 days in August tells you more than any generic recommendation about change intervals.
- Note room-by-room airflow: On a day when the system is running, walk each room and note the perceived airflow at each register on a simple 1-to-5 scale. The numbers themselves are subjective, but your future self will use the same scale, making the comparison meaningful. Note any rooms that feel weaker than others.
- Record energy usage: Note your average monthly energy bill for the current season. Big changes in cooling costs that don’t match temperature patterns can indicate degrading duct system efficiency.
- Schedule a professional camera inspection: If you haven’t had one within the past three years, this is the time. Save the video footage. This is the most objective baseline component you can have: visual documentation of the actual interior condition of every accessible section of your duct system.
- Store everything together: Keep your notes, photos, filter comparisons, and inspection footage in one place – a folder on your computer, a note in your phone, or a physical binder. You’ll reference this file every time you do your annual December review.
This documentation approach changes the dynamic when you eventually call a duct cleaning company. Instead of relying on a contractor’s verbal assessment of “you’ve got quite a bit of buildup in there,” you have your own reference point. You can compare what the contractor’s camera shows against your previous inspection footage, and you can verify that a cleaning actually changed the interior condition. We use professional equipment from Rotobrush to do this work, and we’ve found that Murrieta homeowners who document proactively get better outcomes because they have real context for the service recommendations they receive.
Common Mistakes to Avoid
- Trusting a one-inch filter to last 90 days in summer. In Murrieta’s peak cooling season, a standard fiberglass filter can load past effectiveness in four to six weeks. If you can’t see light through it, it’s done, regardless of what the calendar says. Near-freeway homes should expect even shorter intervals.
- Closing registers in unused rooms to save energy. Your HVAC system was sized and balanced for a specific number of open registers. Closing registers increases static pressure, forces air through remaining leaks at higher velocity, and makes duct separation more likely. It saves nothing and causes problems.
- Having ducts cleaned after renovation without mentioning the renovation. Drywall dust behaves differently than household dust. It’s finer, more abrasive, and responds differently to cleaning methods. Every Murrieta contractor who’s worked in post-renovation homes has seen the difference. Tell your duct cleaning company about the renovation so they can use appropriate extraction methods and equipment.
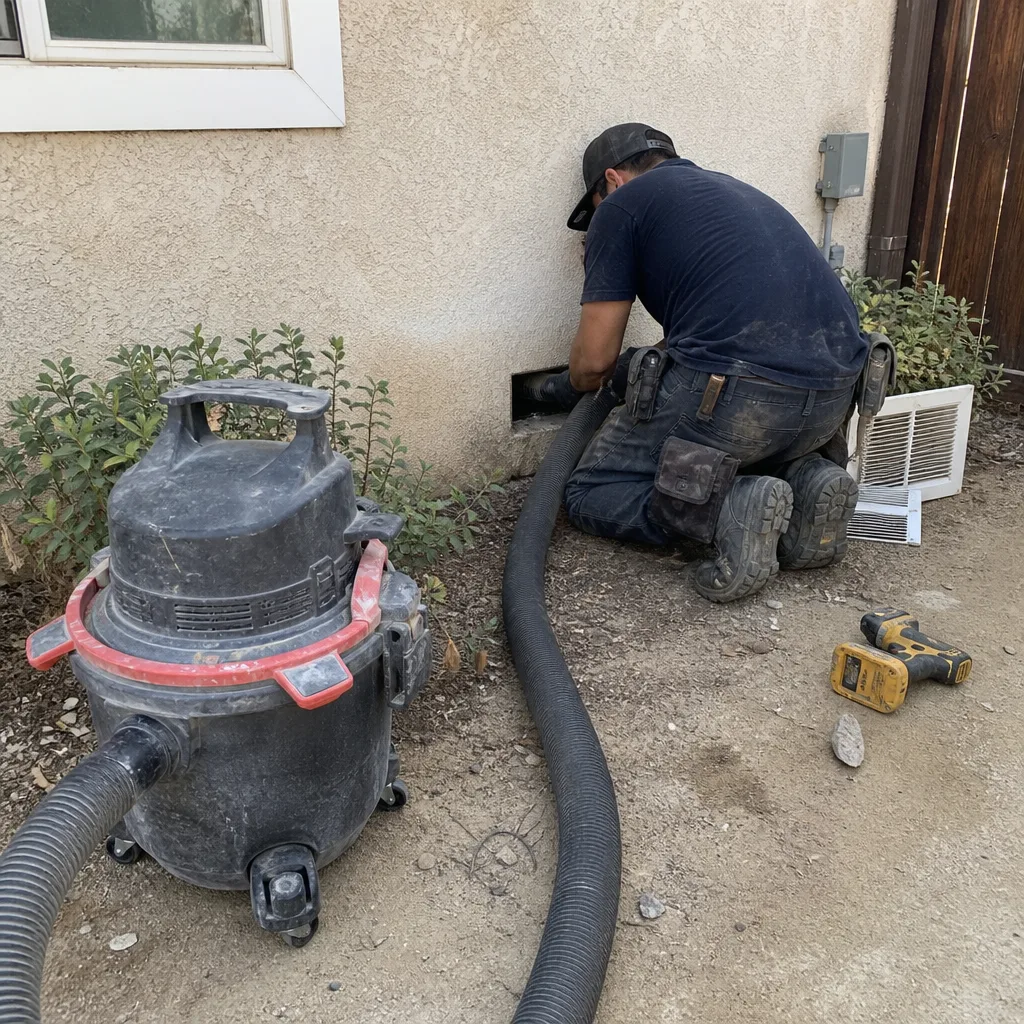
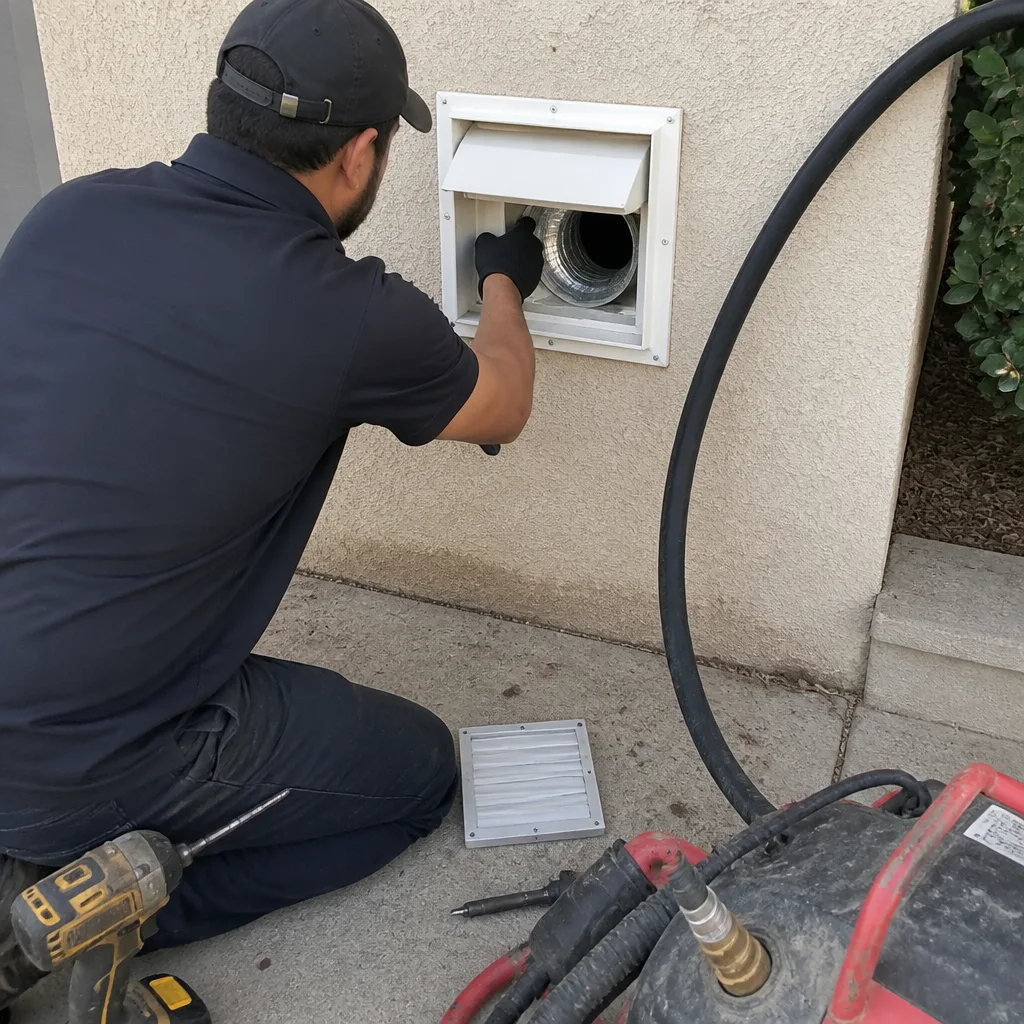
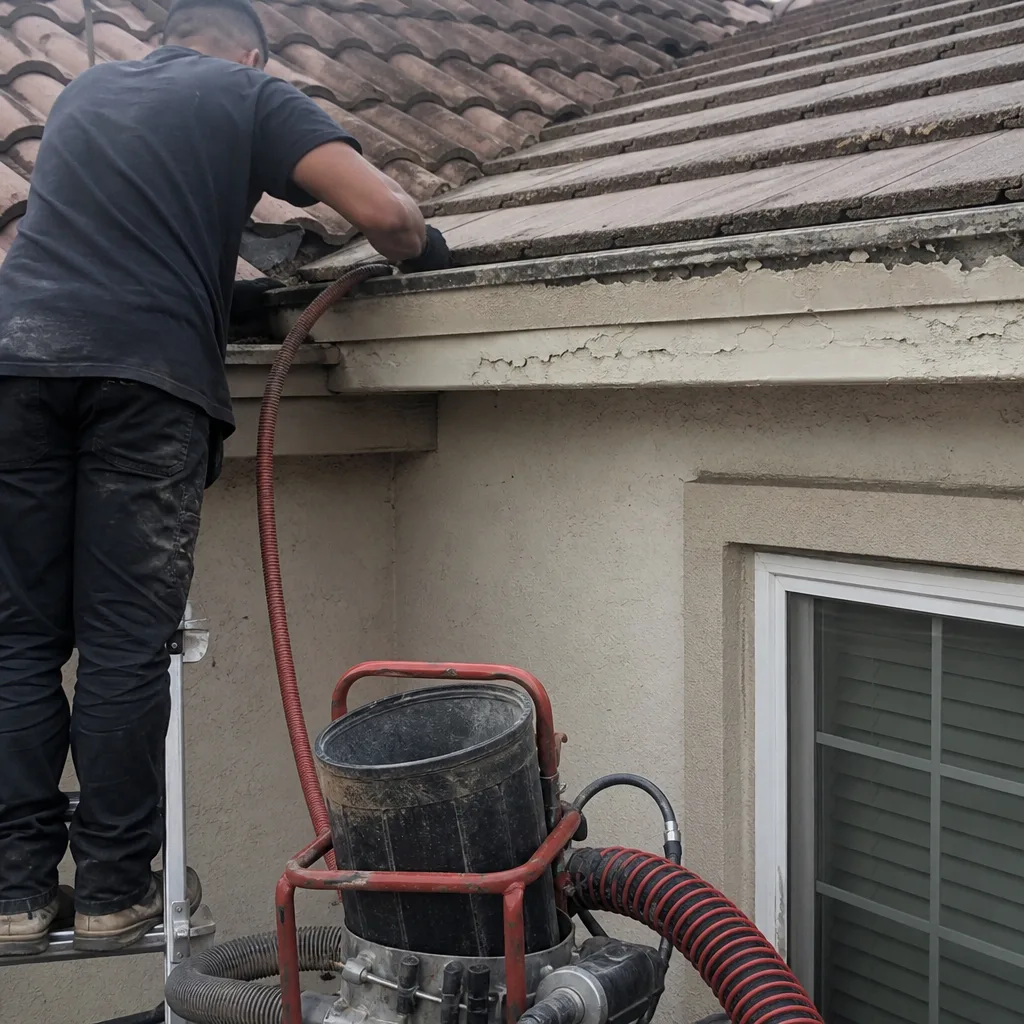
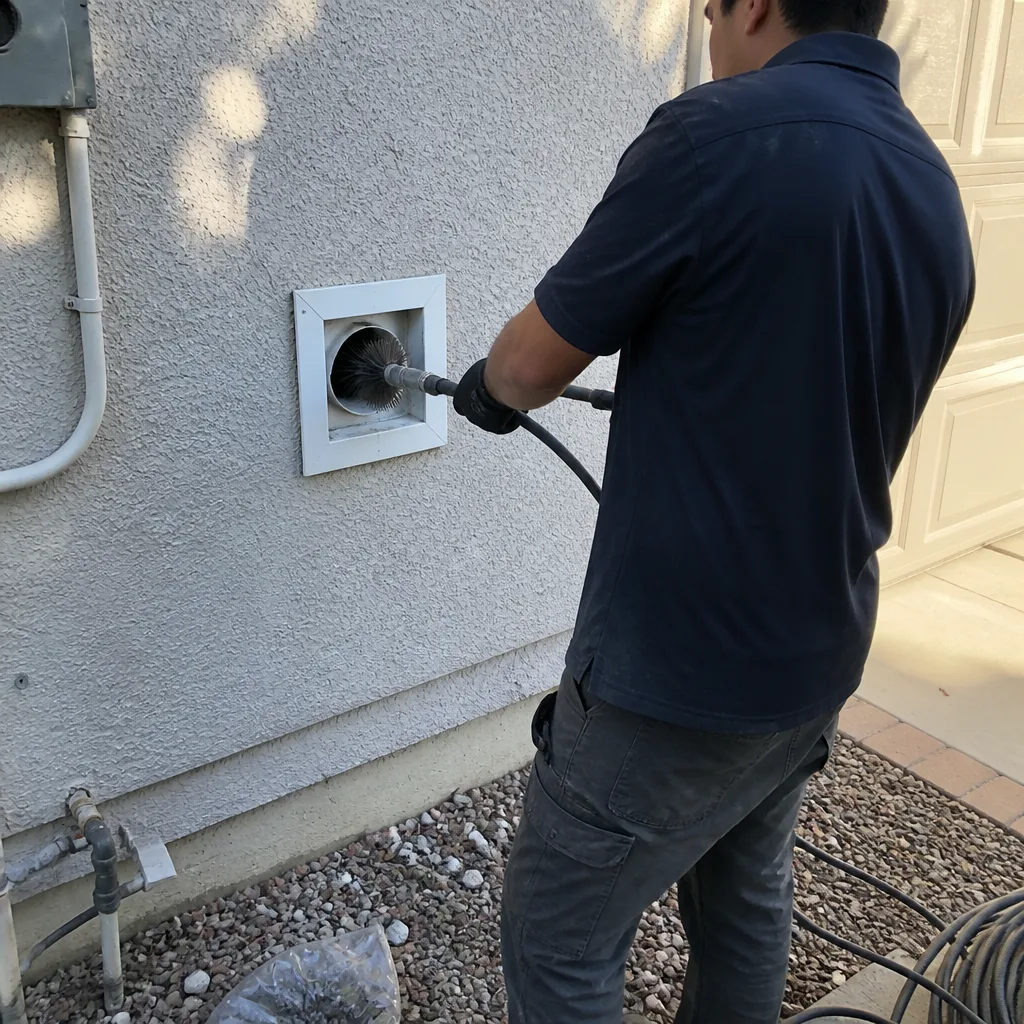
- Ignoring the dryer vent while maintaining the HVAC ducts. Your dryer vent is part of your home’s air pathway system, and clogged dryer vents are a leading cause of residential fires. The NFPA documents thousands of dryer fires annually in the U.S., most involving accumulated lint. Dryer Vent Cleaning in Murrieta is a fire-safety service that belongs in the same maintenance conversation as duct cleaning.
- Assuming a clean filter means clean ducts. A filter protects the equipment from large debris, but it doesn’t stop every particle. Fine particulate passes through standard filters and deposits on coil surfaces, blower wheels, and duct walls. Clean filters extend the time between duct cleanings; they don’t eliminate the need for them.
- Waiting until there’s a visible problem. By the time dust is visibly caking your registers or a room is noticeably warmer than the others, the underlying condition has been developing for months or years. The monthly checklist above is designed to catch issues before they become visible failures.
- Hiring a discount duct cleaner who arrives with a shop vac. Professional duct cleaning requires negative-air equipment that creates actual suction through the entire duct system, not a consumer-grade vacuum pushed into the first two feet of duct. The difference in results is dramatic, and the difference in what gets left behind is measurable on camera.
When to Call a Professional
Some duct system issues are beyond what a careful homeowner should handle. Call a professional if you discover separation at a flex duct connection you can’t reach safely, if you see visible biological growth or standing water anywhere in the system, if you smell musty or burning odors when the system runs, or if your camera inspection reveals buildup that extends past the register boot into the main duct runs. If you’ve lived in your Murrieta home for more than three years without any duct maintenance beyond filter changes, a professional inspection is overdue. Duct Cleaning Murrieta offers free estimates in Murrieta – call (855) 341-7672 to schedule a camera inspection and get an objective assessment of your system’s condition.
Frequently Asked Questions
Every 2 to 4 years for most Murrieta homes, depending on factors like proximity to the 15 Freeway, pet load, and whether you’ve had renovations. Homes within half a mile of the freeway corridor or with multiple shedding pets may need cleaning closer to the 2-year mark, while homes with excellent filtration and no pets can often go 4 years. A camera inspection is the only way to know for certain – call (855) 341-7672 for a free estimate and visual assessment.
MERV 11 is the minimum for homes within 2 miles of the 15 Freeway, and MERV 13 is recommended for homes within 1 mile, provided your system can handle the added static pressure. Diesel particulate from freeway traffic is fine enough to pass through lower-rated filters and will deposit on your coil and duct walls over time. Have a technician verify static pressure before installing MERV 13 filters in an older system.
Look for rooms that run consistently warmer than others, listen for hissing or whistling sounds at register connections, and check accessible attic sections for sagging, kinked, or visibly separated flex duct. Loose connections are often detectable by feel – the duct should be snug at the collar connection with no gap you can slip a finger into. Persistent temperature differences between rooms during cooling season are the most reliable indicator.
No. A consumer shop vac can reach a few feet into a register boot but cannot create negative pressure through the entire duct system. Professional equipment from brands like Rotobrush and Nikro is engineered to extract debris from the full duct run, including the main trunk line and plenum. A shop vac cleaning is equivalent to cleaning the first six inches of your driveway and calling it a complete job.
Every 12 months for a typical Murrieta household, and more frequently if you do multiple loads daily, have a long dryer vent run, or notice longer drying times. The low humidity in Murrieta makes lint especially dry and combustible, and the NFPA identifies dryer vent fires as a significant residential fire cause. Dryer vent cleaning is a fire-safety service – call (855) 341-7672 to schedule.
Run your system fan continuously rather than letting it cycle automatically, which maintains positive pressure in the ductwork and reduces wind-driven particulate infiltration through small gaps. Close windows and doors on the windward side of your home, check your filter after the event passes, and expect visible dust on freeway-facing registers. During strong Santa Ana events in Murrieta, outdoor particulate can load a filter in days rather than weeks.
The Bottom Line
Maintaining your Murrieta home’s duct system is about rhythm, not sporadic reaction. The climate here imposes a predictable pattern: long cooling seasons that deposit debris on coils and blower wheels, Santa Ana events that inject outdoor particulate directly into the system, and freeway proximity that adds a continuous fine-dust load many homeowners never account for. The checklist in this guide gives you the monthly rhythm, the filter guidance for your specific particulate exposure, and the inspection techniques to catch duct problems before they show up as higher energy bills or unexplained allergy symptoms. Document your baseline, stick to the schedule, and call a professional when your own inspection tools reach their limits. Clean ducts are the foundation of clean indoor air, and in Murrieta, that foundation needs active maintenance year-round.
Written by the team at Duct Cleaning Murrieta, serving Murrieta since 2015.
See the difference
 Before
 After
 Before
 After
 Before
 After